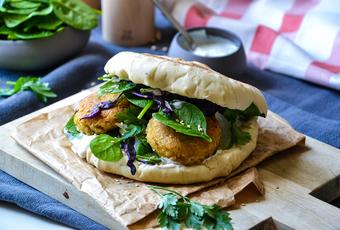
Easy and quick to prepare, make your fluffy homemade pita breads and its falafels.

Many foodies believe that there is no such thing as a good meal without bread! But what do you do if you fancy a slice of tasty fresh bread while on a gluten-free diet but the local bakery does not cater for your needs? Well, take a look at our recipe for home-made gluten-free bread, which is just as delicious whether served during an evening meal or breakfast.
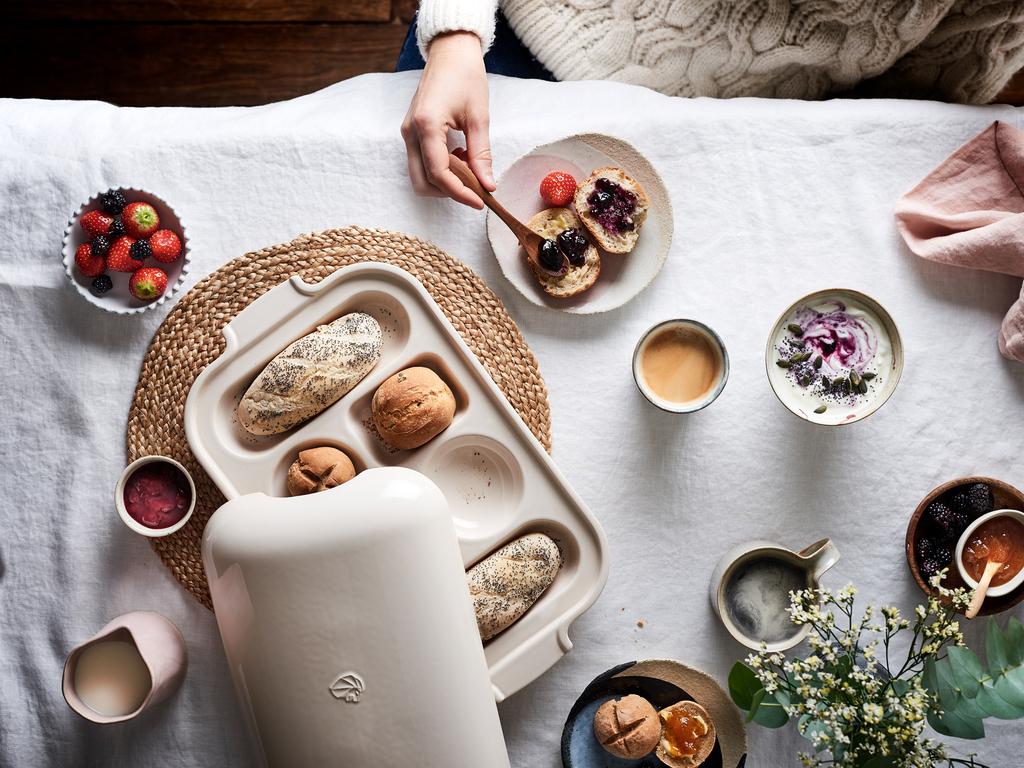
Gluten-free bread is runnier and less elastic than traditional bread. If you try baking it on an oven tray, it is likely to collapse and spread out like a pancake. If you do not have a bread machine, choose a bread tin with a lid to bake the dough. Another tip: the Peugeot Appolia ceramic baking tray allows you to make three different types of bread. Its lid is not enamelled on the inside and is specifically designed to recreate the level of humidity that is essential for baking moist bread.
Before you get started on the dough, you must mix the baker’s yeast in some warm water (approximately 40°) for 5 to 10 minutes. The water should not be too hot, otherwise it could “kill” the micro-organisms in the yeast.
To produce a soft and malleable dough, make sure that you always have the same amount of water as flour. For example, for 500 g of flour, add 500 ml of water to the dough.
Unlike traditional bread dough, you only need to prove gluten-free bread dough once. To speed up the process, allow the dough to prove in a warm, humid room away from any draughts, such as a bathroom, or put in a salad bowl, cover with a damp cloth and leave near a heat source.
To prevent the bread from being too dry, another tip involves placing a suitable recipient of water in the oven during baking to guarantee a soft bread centre and a crunchy crust!
Once the bread has been baked, quickly remove from the tin and place on a rack so that the moisture can completely escape without any danger of making the bread go soggy.
Ingredients:
Preparation: